> For the complete documentation index, see [llms.txt](https://docs.sprinthub.com/llms.txt). Markdown versions of documentation pages are available by appending `.md` to page URLs; this page is available as [Markdown](https://docs.sprinthub.com/en/topics/attract/landing-page/landing-page-how-to-enable-meta-pixel-on-sprinthub-landing-page.md).
# Landing Page - How to Enable Meta Pixel on SprintHub Landing Page
The **Meta Pixel** It is an essential tool for conversion tracking, ad optimization, and creating custom audiences based on user interactions on your website. Before activating Meta Pixel on a landing page in SprintHub, the pixel must already be set up and active in Meta Business. Below, I explain how to activate it in SprintHub.
#### Prerequisites
1. **Meta Business Manager Account:** Make sure you have a Meta Business Manager account with Meta Pixel already set up. If you haven't set it up yet, follow [these instructions](https://docs.sprinthub.com/estrategias/meta-business/meta-facebook-pixel) to complete the process.
#### Step-by-Step to Activate Meta Pixel on the Landing Page
**Access the SprintHub Editor:**
* Log in to your SprintHub account.
* Go to your landing page settings page.
* Click "Edit" to access the page builder.
**Navigate to the Settings Section:**
* In the editor, find the right-hand sidebar and expand the "Tracking" section to view the options related to Meta Pixel.
**Activate Meta Pixel:**
* In the "Tracking" section, you will see an option titled "Enable Meta (Facebook) Pixel."
* Click the switch to turn it on.
* This will automatically integrate the Meta Pixel previously configured in Meta Business Manager into your landing page.
**Save and Publish the Changes:**
* After activating Meta Pixel, save the changes.
* Publish the landing page for pixel tracking to take effect.
#### Final Considerations
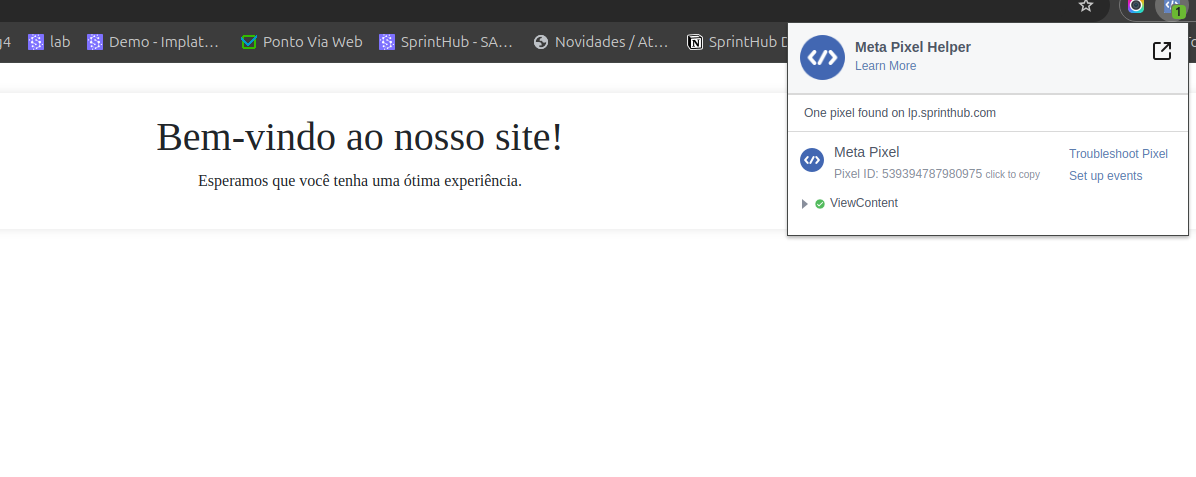
By following these steps, you will ensure that Meta Pixel is active and working on your SprintHub landing page, allowing you to track conversions and improve the performance of your Meta ad campaigns. Remember to verify that the pixel is tracking correctly using the Meta Pixel verification tool in your Meta Business Manager.
---
# Agent Instructions
This documentation is published with GitBook. GitBook is the documentation platform designed so that both humans and AI agents can read, navigate, and reason over technical content effectively. Learn more at gitbook.com.
## Querying This Documentation
If you need additional information that is not directly available in this page, you can query the documentation dynamically by asking a question.
Perform an HTTP GET request on the current page URL with the `ask` query parameter, and the optional `goal` query parameter:
```
GET https://docs.sprinthub.com/en/topics/attract/landing-page/landing-page-how-to-enable-meta-pixel-on-sprinthub-landing-page.md?ask=&goal=
```
`ask` is the immediate question: it should be specific, self-contained, and written in natural language.
`goal` is optional and describes the broader end goal you are ultimately trying to accomplish on behalf of the user. GitBook uses it to tailor the answer towards what is most useful for that goal.
The response will contain a direct answer to the question and relevant excerpts and sources from the documentation.
Use this mechanism when the answer is not explicitly present in the current page, you need clarification or additional context, or you want to retrieve related documentation sections.